BREW GUIDES: French Press Brewing Guide
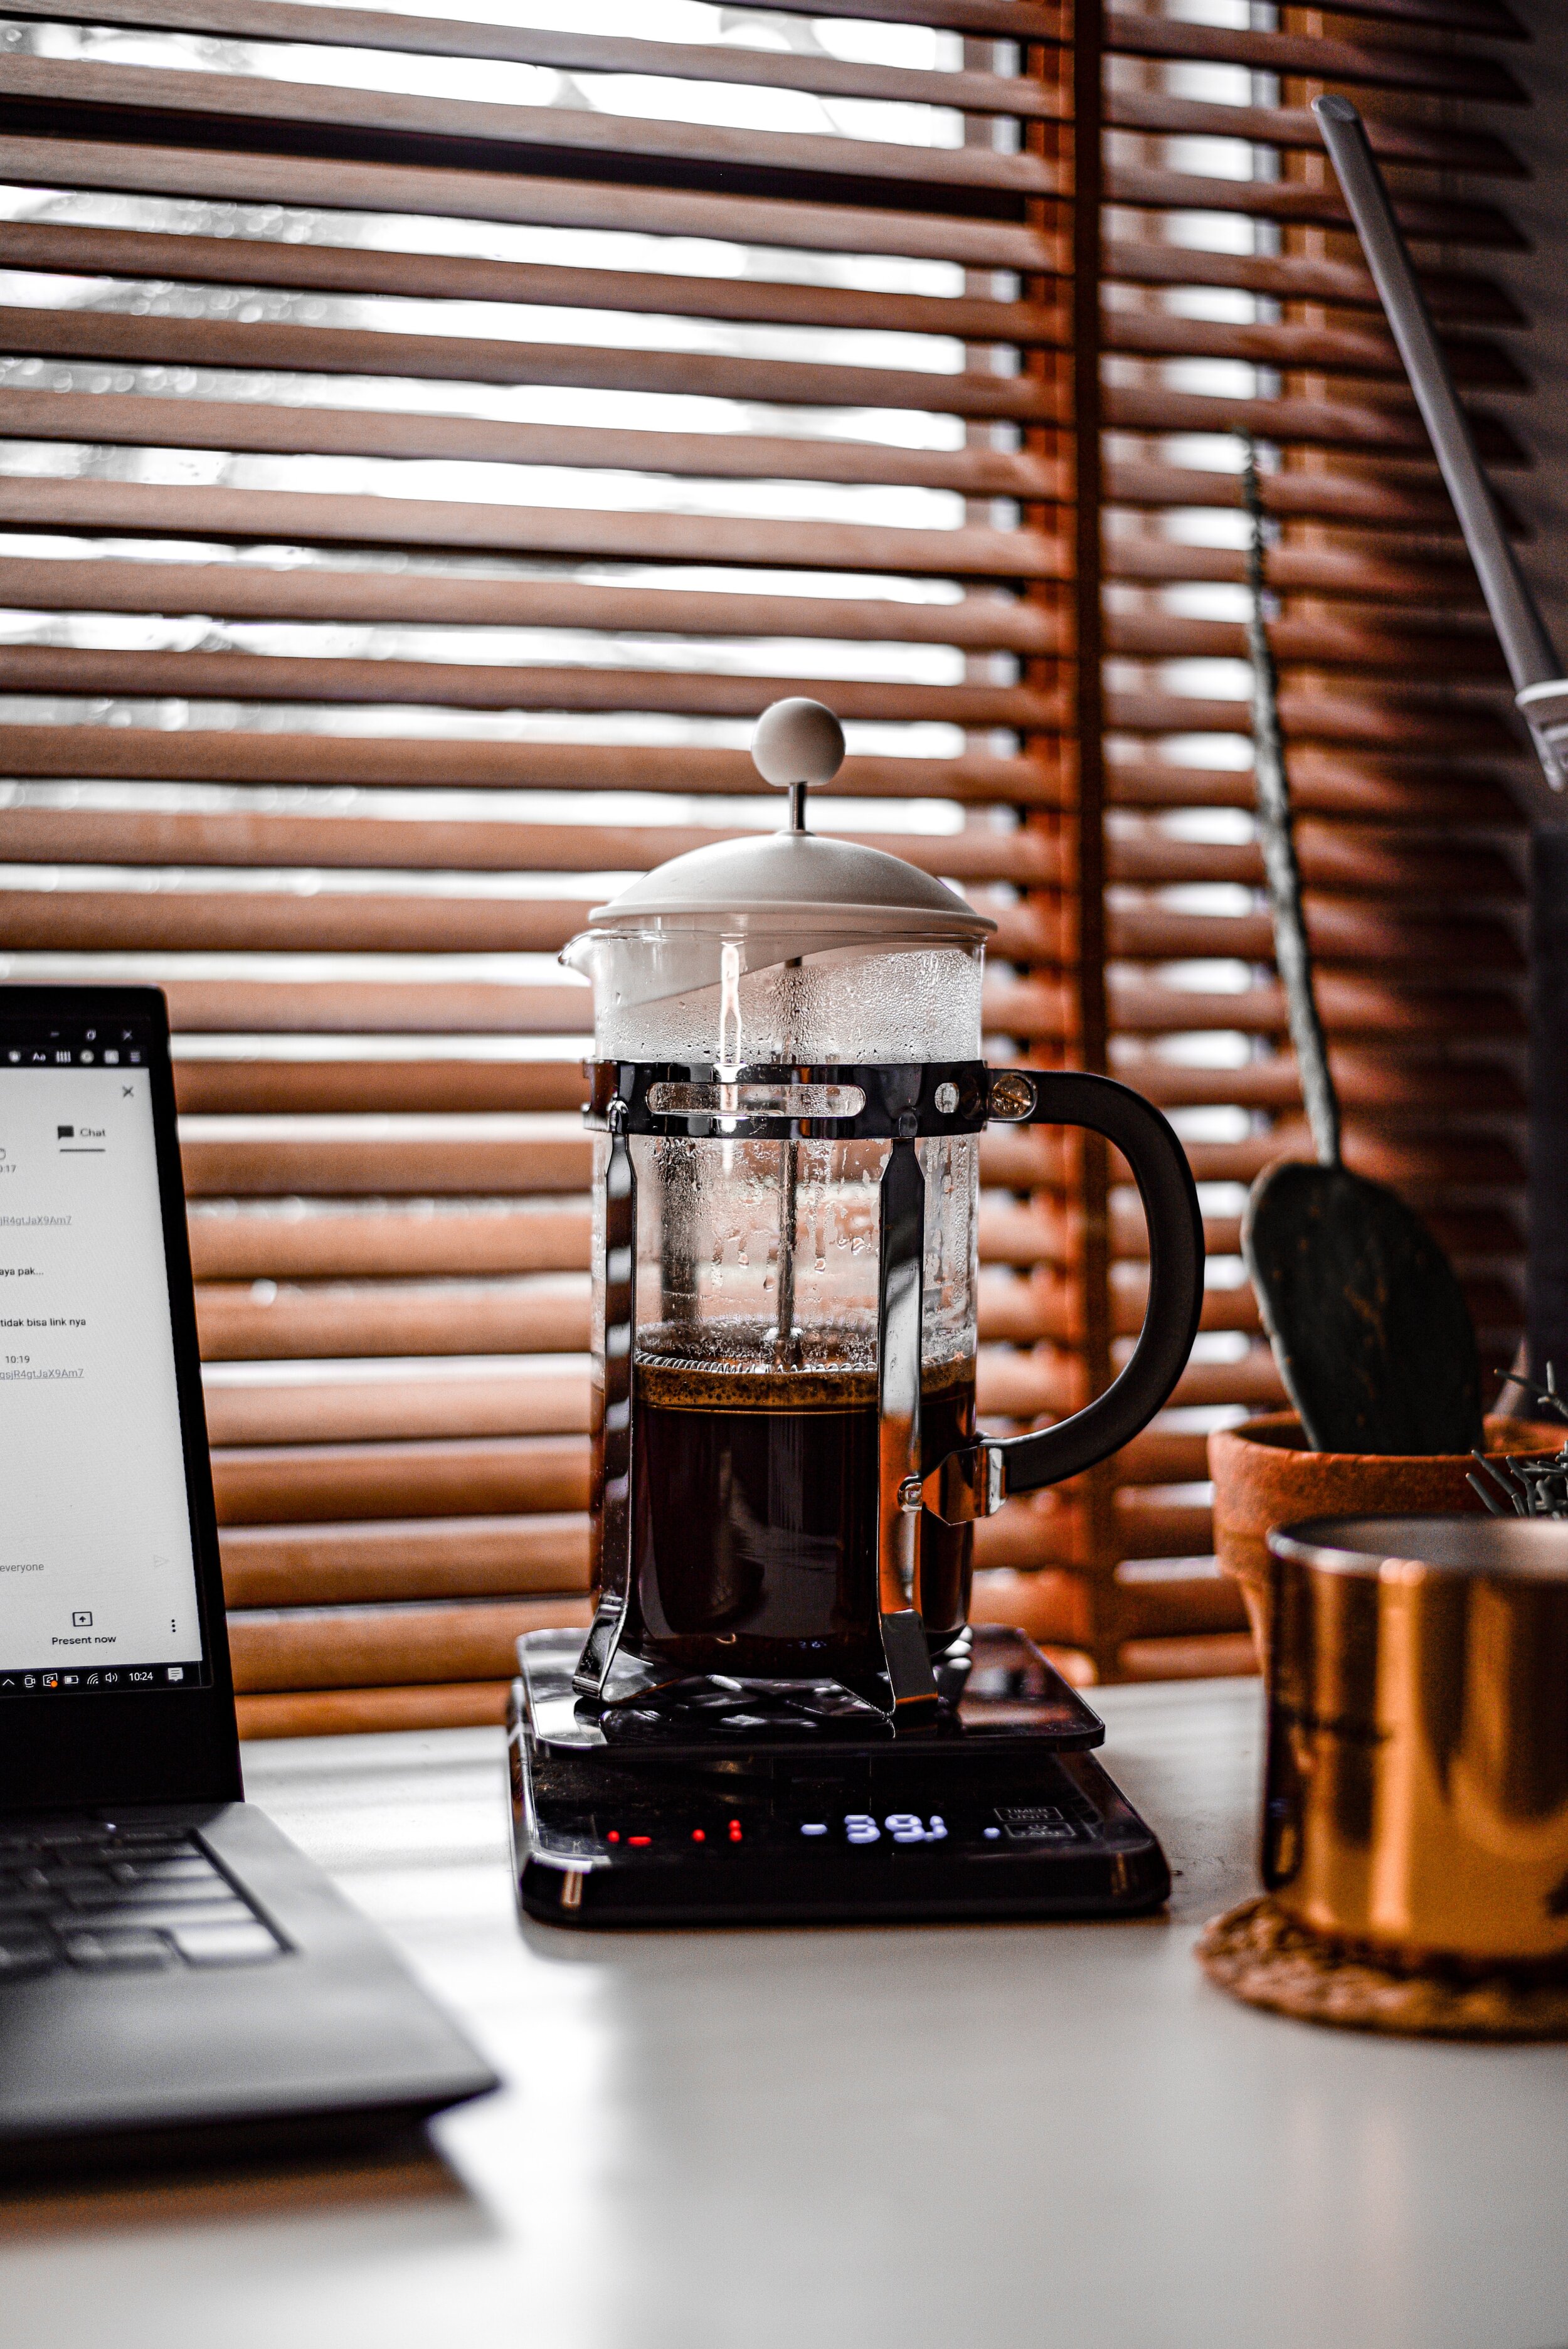
The French press (or cafetière or coffee plunger) is such a distinctive Australian coffee service that it’s often underrated. After all, nans and aunties have been popping plungers of brew on tables on back decks for years. But that doesn’t mean it’s not a fantastic way to brew and drink your coffee. It’s cheap, consistent and easy-to-use at home. Even for the tech-challenged.
BREW GUIDES: French Press Brewing Guide
The French press is an infusion brewer which means that the hot water and coffee grounds steep together to create the coffee. And because it utilises a metal mesh to filter the grounds, more of the non-soluble coffee gets into the cup then when using other methods.
This leads to a few things – a uniform extraction, and a bigger richer body to the resulting coffee. It also means that you’ll get some particles and ‘sludge’ in the bottom of your cup. While some people don’t like this, it’s just part of the uniqueness of the French press method of brewing.
The Basics
You’ll need:
Beautifully roasted beans with a medium to fine grind
Filtered water
A scale
A French press
Your ratio of coffee to water:
75 grams of coffee to a litre of filtered water. If you plan to use 500ml of filtered water, you can use between 37-38 grams of coffee.
This is a slightly higher ratio than other methods, but as with all ratios, give it a try and then personalise it from there.
Steps to Brewing Coffee with a French Press
Source beans and grind them (or have them ground) to a medium-to-fine grind.
Boil a kettle of filtered water.
Take the water off the boil and let it sit for two minutes.
While you’re waiting, measure out (via weight) your coffee to give you the ratio of 75g/1L.
Place the ground coffee into the bottom of the French press and then pour the water over top.
Allow the coffee to steep for approximately four minutes.
Once the four minutes have passed, do not stir to prevent any coffee grinds from rising back up to the top.
If any ground and foam remain floating on top, use a spoon to scoop them away, you can allow the coffee to brew for longer if you want a stronger brew.
Place the metal mesh plunger on top of the beaker but DON’T PLUNGE. This helps limit the amount of silt that passes through the mesh into the cups when you gently pour the coffee into your cup. Remember, the more gentle, the less silt you’ll get.
Enjoy (with or without milk)!
Remember, it’s your coffee!
At the end of the day, it’s your coffee. Our French Press Brewing Guide is just that… a guide. If you find the ratio here too strong (or not strong enough) feel free to change it. If you prefer a bit more body to your brew, use the plunger a little bit. And if you want to use steamed milk you can find out how to do that on our video (you can skip directly to 3:45)!
But if you’ve disregarded the plunger brew method because it’s old fashioned, we suggest you give it another go. You might be pleasantly surprised! And if you can’t finish the brew, you can pour the rest into a nice glass container and leave it in the fridge for some nice cold brew at a later time.
Our Brew Guides
If you liked our French Press Brewing Guide check out our other Brew Guides. You can find out the specifics about other brewing methods, including all our tips and tricks.
We’ve got some excellent coffee beans and blends ready for you and your French press. Grab a bag at our shop today and give Nan a call. We bet she’d love to join you on the deck!


