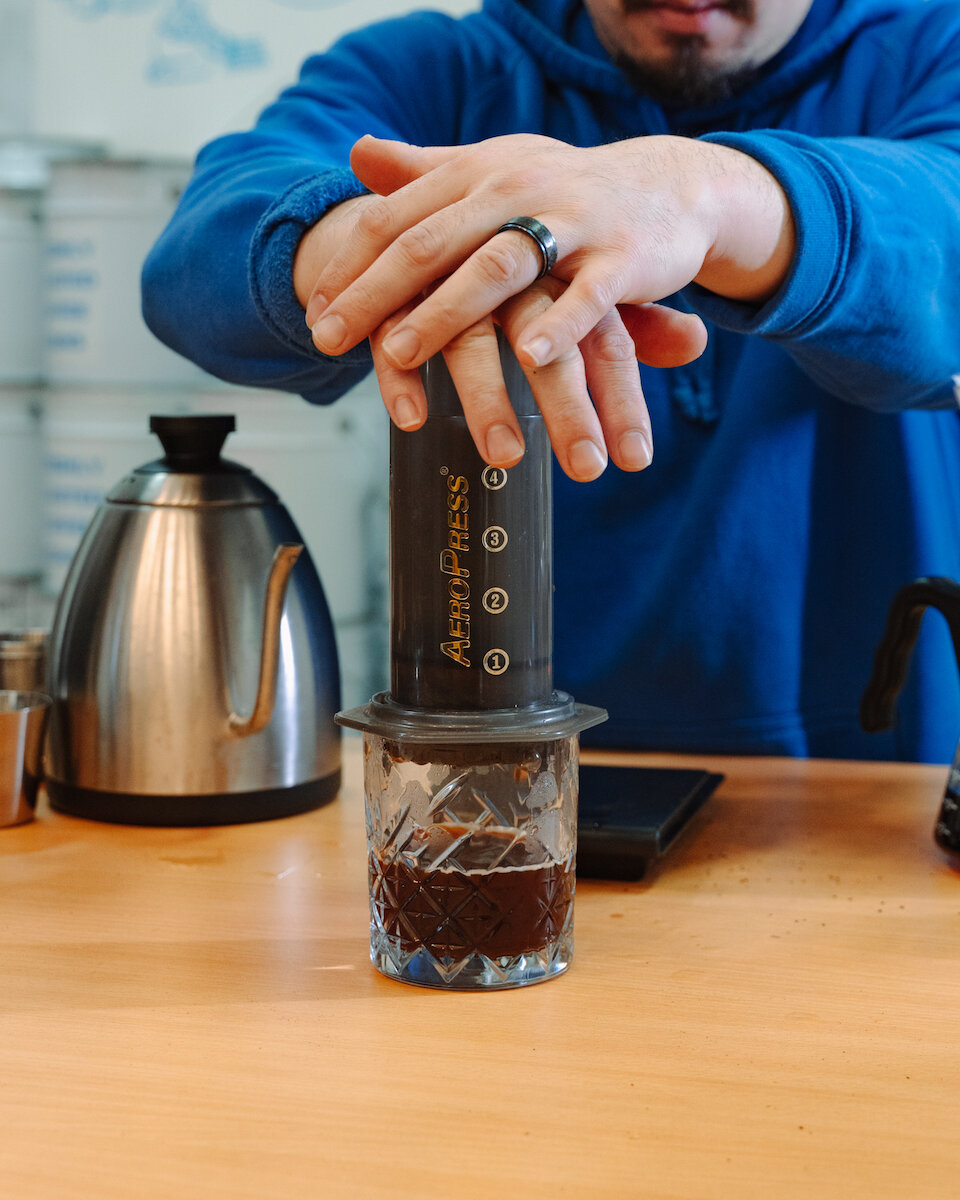
BREW GUIDES: AeroPress Brew Guide
The AeroPress is a unique coffee brewer, and those people that use it, absolutely love it. It’s portable, easy to clean and makes fantastic coffee. And that’s because it combines two brewing methods—infusion and percolation.
With the AeroPress initially the water and coffee is steeped together, like with the French Press method. That’s the infusion portion of the process. But then the water is pushed through the grounds and a paper filter, like a filter coffee maker is used to separate the coffee from the grounds. That’s the percolation portion of the process.
One of the most interesting things about the AeroPress is that there’s many(many!) different techniques and ‘recipes’ for using it to make coffee. In fact, there’s an international competition every year (the World AeroPress Championships) where coffee brewers can enter their best AeroPress brewing technique.
So, while our AeroPress Brew Guide gives you our favourite technique and recipe for using the AeroPress machine, you’re welcome to experiment with the recipes available. Maybe there’ll be one you like better!
BREW GUIDES: AeroPress Brew Guide
The AeroPress is a fantastic coffee brewer with a lot of options. Use our AeroPress Brew Guide as a jumping off point, and then go from there!
The Basics
You’ll need:
Beautifully roasted beans with a medium to fine grind
Filtered water
A scale
An AeroPress brewing machine
Your ratio of coffee to water:
15 grams of coffee to 200ml of filtered water.
This ratio is slightly higher than other methods and in line with the French Press method. However, we recommend starting here as it’s also a percolation method. If you want a stronger cup of coffee (think short and strong) you can amp that up to 20g/200ml. As with all ratios, give it a try and then personalise it from there.
Source beans and weigh out 15-20g of coffee.
Put the paper filter into the filter holder and run some water through the paper filter to remove any chances of a paper taste in your coffee.
Boil a kettle of filtered water.
Take the water off the boil and let it sit for two minutes.
While you’re waiting, measure out (via weight) your coffee to give you the ratio of 15g/200ml.
Place your mug or coffee cup onto your scales, place the main part of the brewer on top of the cup and add your weighed coffee grounds.
Turn on your scales, then add the desired amount of water to the AeroPress.
Start a timer.
Give the coffee a quick stir, then place the piston apparatus into the brewer. Seal it but do not press it down. The seal creates a vacuum preventing the coffee from dripping out of the brewer and giving it time to steep.
Allow the coffee to steep for two minutes to start. Over time, and with experimentation, you may want to allow it to steep longer.
Take the mug and brewer off the scales and push down on the piston until all the liquid has been expelled.
Once the coffee has been filtered, pull the piston back by a couple of centimetres to stop dripping. Then remove the filter holder and discard the grounds (responsibly!).
Enjoy your AeroPress coffee (with or without milk)!
Remember, it’s your coffee!
At the end of the day, it’s your coffee. Our AeroPress Brew Guide is just that… a guide. If you find the ratio here too strong (or not strong enough) feel free to change it. If you prefer to use a coarser grind, adjust the amount of time you allow it to steep. And if you want to use steamed milk you can find out how to do that on our video (you can skip directly to 3:45)!
There are so many ways to enjoy AeroPress brewed coffee, you might have your own unique approach. If so, let us know. We’re always keen to learn more interesting coffee brewing methods!
Our Brew Guides
If you liked our AeroPress Brew Guide check out our other Brew Guides. You can find out the specifics about other brewing methods, including all our tips and tricks.
We’ve got some excellent coffee beans and blends ready for your AeroPress and we’ll grind them just the way you like. Grab a bag at our shop today!


